Happy Friday everyone! Hope you have had a good week and are looking forward to a nice weekend! I’ve had a good week, sold a couple of items, one was made to order so I’ve been making that as am on a break from the jumper commission – waiting for new wool to arrive as you saw in my post last week.
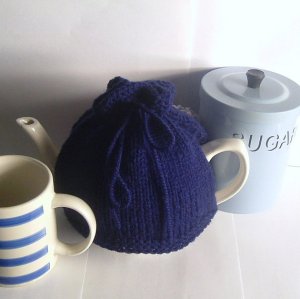
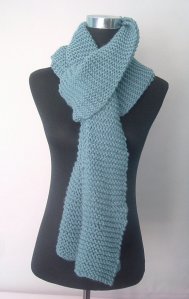
The scarf was the only one I had in stock and I’m out of that yarn now so will be ordering some more or something similar and making a new one when I have time. If anyone wants one, just let me know, and I’ll make one for you! Or in a different colour, that’s fine too. Same applies to the tea cosy.
Anyway, this week, I thought I’d do a short tutorial for you! I hope you like it!
Corkboard Tutorial
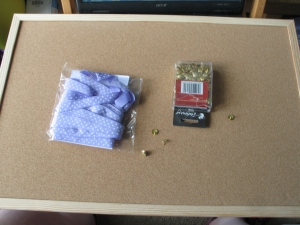
For this tutorial you need:
a corkboard (I used one that is size 400 x 600mm/40 x 60cm)
ribbon
drawing pins
scissors
tape measure
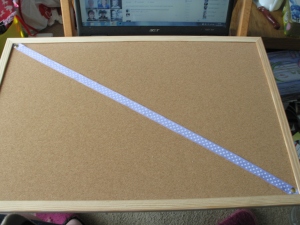
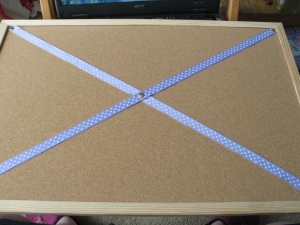
Step one: place one piece of ribbon from corner to corner and cut to the size you need. If possible, it looks neater to slide the ends of the ribbon between the frame and board so that you can’t see them. Make sure the ribbon is fairly taut so that it doesn’t sag between the drawing pins. Pin at each end.
Step two: Repeat in the other direction, and pin where the ribbons cross.
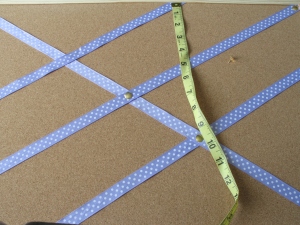
Step 3: Continue to pin the ribbons to the board. It’s important to have them the same distance from each other or it will look odd. Measure carefully to make sure that each ribbon is straight and an equal distance from the others. Crisscross them where they meet – putting the ribbon over one and then under the next. Pin them where they meet.
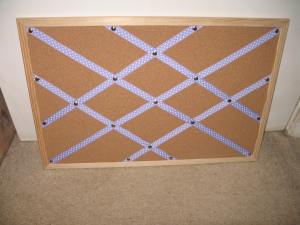
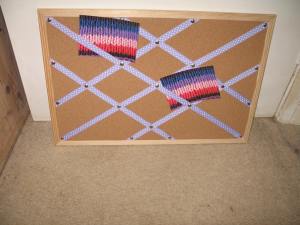
As you can see, it looks attractive and makes it easier to put things on your board, you just slide them behind a ribbon! You can still secure them with drawing pins if you want to but as you can see in the photos of the finished item, that might not be needed! It was really easy to do this, it only took me about half an hour but made my corkboard look much nicer and made it easier to use too! I’m going to be hanging this in the hall so that when we have important documents arrive that we need to keep, they don’t get lost, we are great at losing hospital appointments, car docs and so on, so this way, hopefully, we will find them easily from now on!
My Nanny gave me this idea, as she did a similar thing for me when I was a young girl, I had the corkboard in my bedroom for years and used to have pictures I liked on it, inspiring quotes, postcards, really anything I wanted!
Do let me know if you do this tutorial, I’d love to see your pictures!
In other news, while I was writing this, the wool arrived for the jumper! Yay! I’d better finish off that tea cosy and get it and the scarf ready to post so that I can make the sleeves for my jumper order! Busy times!
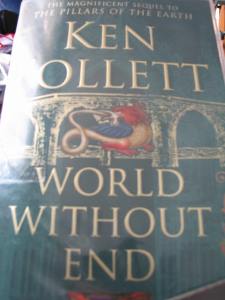
In my time off, I’m reading this Ken Follett book, which I’m really enjoying – however I only noticed this morning that it says on the front that it’s a sequel! Doh! I’d better read the other one too then 🙂 I do love his books, so interesting! I’m finding it easy to follow without having read Pillars of the Earth thankfully! What do you like to read?

I’m reading The White Princess by Phillippa Gregory – it’s the fifth in the ‘Cousins War’ set in the Plantaganet TImes upto the start of the Tudors. Definitely gripping!